Job Pictures – Online
v14
The Job Pictures – Online (Allpro Insulator v14 and newer) feature allows users with an active Allpro Cloud Service subscription to save and access job pictures in an online database. Users can then opt to include the pictures on produced Estimates, Invoices, Job Sheets, or combinations thereof. Cloud storage of the images means they can be accessed in Allpro Insulator from any computer with an internet connection. Users can also download copies and/or send them as an email attachment.
- Some configuration of cloud data is required for this function to work properly. If you are having trouble accessing this feature, call Allpro Technology at (231) 839-7928.
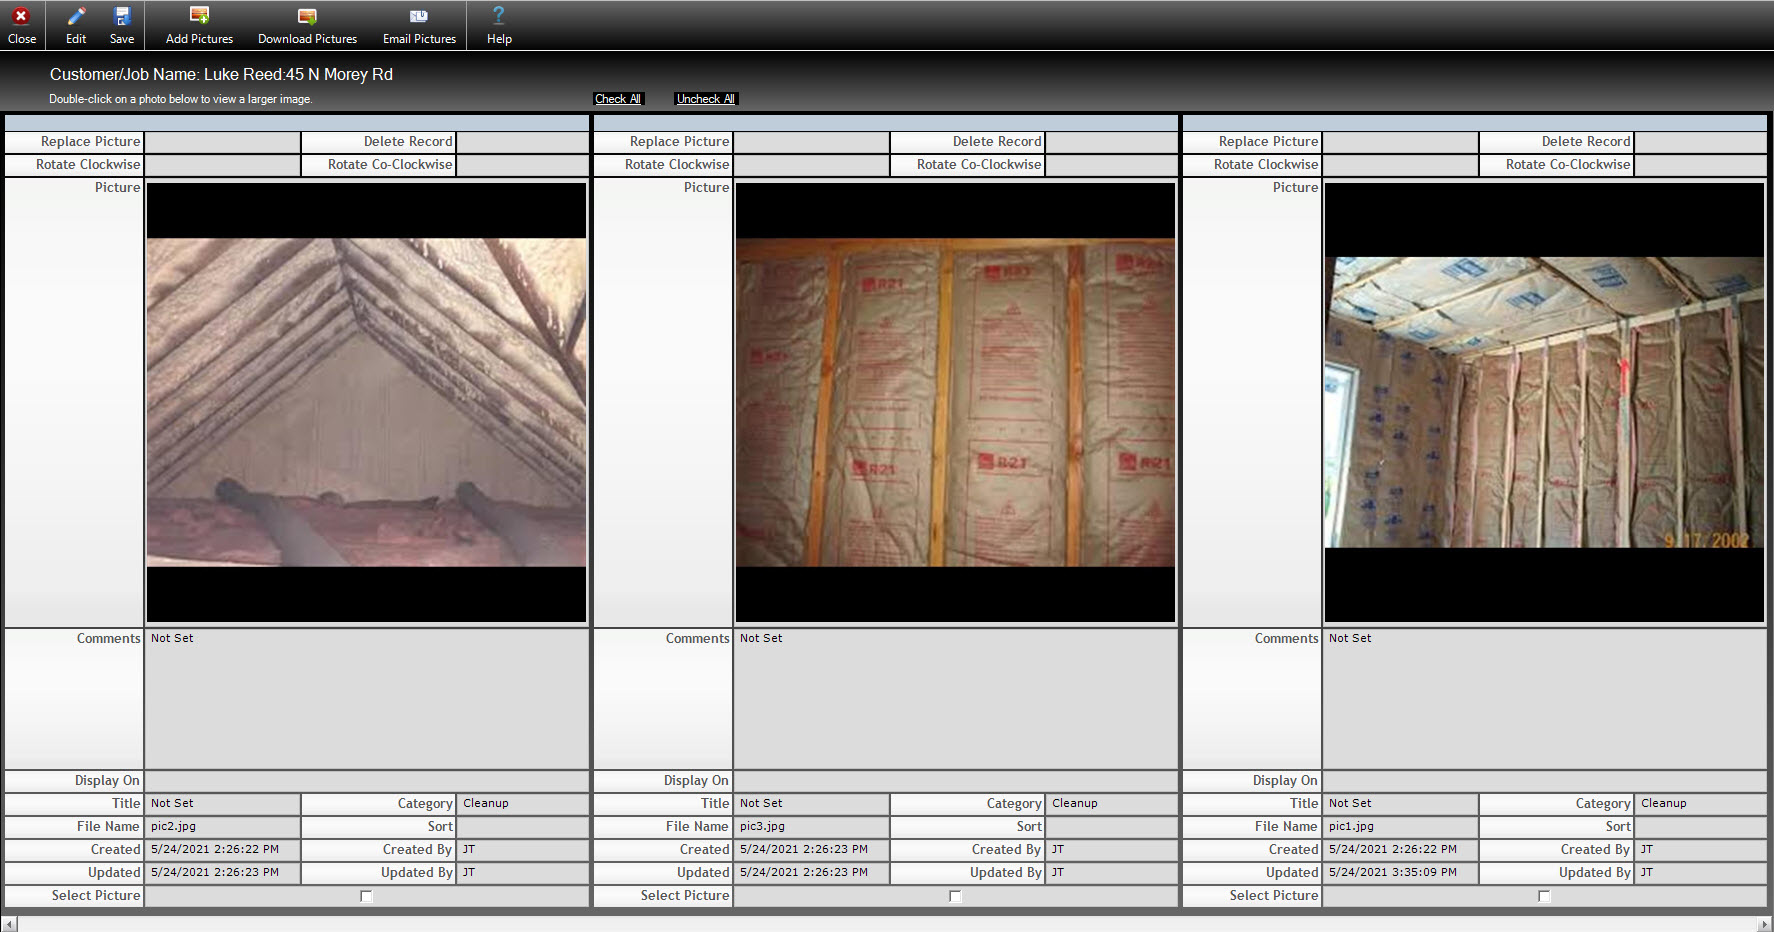
The Job Pictures – Online function can be accessed from the Action menu on the Estimate form or the Launch menus found on the Estimate List, Package List, Line Item List, DSignature List, and Scheduled Email Messages list. When the form opens, it will contain pictures associated with the Customer/Job for record from which it was opened.
Edit/Save – Allows the user to make changes or save changes they have made. Edit mode must be selected before making changes.
Add Pictures – When editing is enabled, allows the user to add pictures
Download Pictures – Allows the user to download and save selected pictures to a location of their choosing on the local computer. The Select Picture checkbox must be checked for the pictures the user wishes to download.
Email Pictures – Allows the user to email selected pictures as attachments. The Select Picture checkbox should be checked for those pictures the user wishes to email.
Customer/Job name: Displays the Customer/Job associated with the displayed pictures.
Check All/Uncheck All – These options allow the user to select all pictures or unselect all pictures.
Adding and Removing Pictures
To add pictures to Job Pictures – Online, users will start by clicking the Add Pictures icon to open the Add Pictures menu.

From this menu, users can assign a Picture Category, a Picture Title, and enter Comments. Once theses details have been entered, user will select the Browse for Pictures button to select the picture or pictures to upload from the Open dialogue. Note that multi0ple pictures can be selected simultaneously by clicking and dragging the mouse pointer to select multiple files..
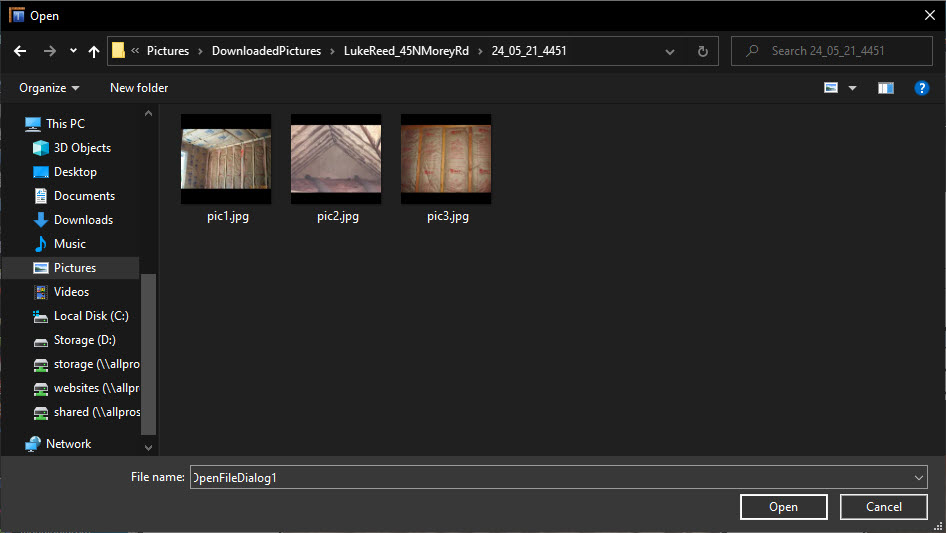
From this dialogue, users can select the desired images to add. Once added, each individual picture can be further configured, as described below.

Replace Picture –Allows users to select a different picture to replace the current selection.
Delete Record – Deletes the image including all comments and settings.
Rotate Clockwise/Rotate Co-Clockwise – Rotates the picture clockwise or counterclockwise, allowing users users can correct picture orientation.
Comments – Allows the user to enter comments about the picture and will display “Not Set” if no comments are entered.
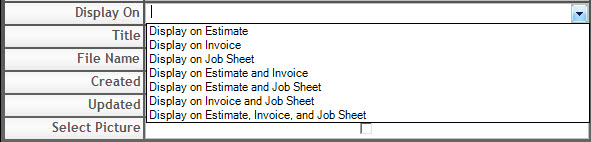
Display On – Provides a list of options regarding which reports to include the picture with, as pictured below.
Title – Allows the user to enter a title for the picture and will display “Not Set” if not title is entered.
Category – Allows the user to categorize the picture and edit the Category options.
File Name – Displays the name of the original picture file name.
Sort – Allows the user to configure a sort order for the images associated with the current Customer/Job. Lower values will appear first, from left to right.
Created – Indicates the date and time the picture was added to Job Pictures – Online.
Created By – Indicates which Software User uploaded the picture.
Updated – Indicates when the picture or its configuration were last updated.
Updated By – Indicates which Software User last updated the image or its configuration.
Select Picture – This checkbox allows the user to select one or more entries to download locally, attach to an email, or delete.
Note: Edit mode must be enabled before making changes to Picture entries.